
Assembly first steps
Post date: Dec 3, 2013 12:00:45 AM
Feels good to be constructing something on a car-like object!
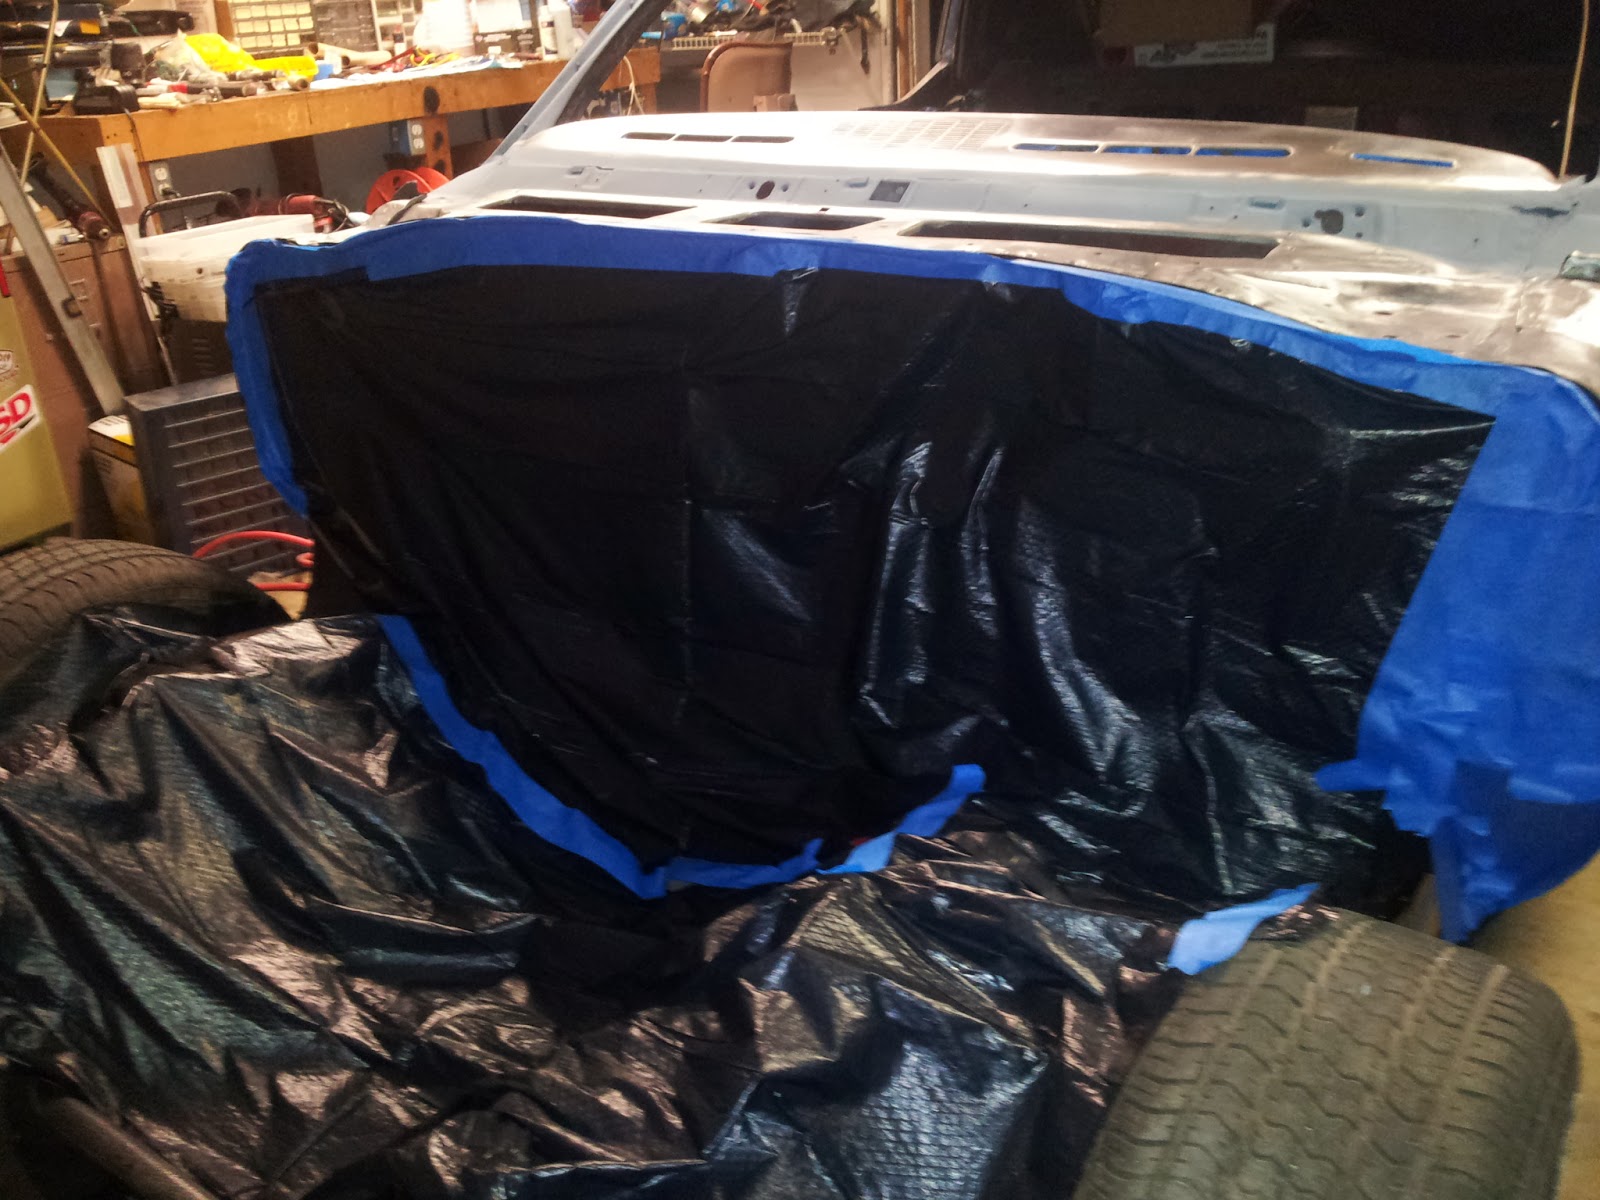
First was painting the cowl using Eastwood's epoxy primer and 2k underhood black. I used the Harbor Freight 'Professional' gun for this one and it was quite a bit easier than the purple gun. That laid down just fine. I used a rattle can from YearOne of 'Olds Dark Blue' for the dash, but goofed it up by leaving a bunch of sanding marks in the primer. I'm hoping to get some 'real' paint from the local shop and use the gun instead of the rattle cans anyway. There's rust up in the pinch between the dash and the cowl, so I smudged some POR-15 in there.
Then went on the seam sealer. Goopy stuff. The black sealer in the tube wasn't too big of a deal, although hard to spread after putting it down. The 'brushable' grey stuff is really a single use can and I'm OK never using it again. Oh, just remembered I forgot a few places. Crud.

The underdash insulation and firewall insulation went in OK. The underdash comes precut, but seems to be a pattern that has no relevance to the cars. Patching together punchouts from the firewall got decent coverage. Getting the firewall pad in place took many tries. The retainers that come with the pad are horrible. I bent the firewall trying to get one in, and didn't really have success with any of them. There's rumor that some vendor's versions are far easier to work with. I fell back to the Dorman christmas tree retainers from the parts stores. Those just shattered. Then got Hillman Chrysler retainers from Lowes (also at Pep Boys) and those worked! Geeze.
After that was restoring the parking brake, brake, and gas pedal assemblies. Brake was easy - two bolts and it's in pieces. Sandblast, paint with good old rustoleum and grease as appropriate.
Parking brake? Not so easy. It's riveted together. I figured not a big deal and started tearing into the main rivet.
Big deal.
Had to grind off the entire head just to learn that it's a special stepped rivet with one side 5/8" and the other ~1/2". I "fixed" this by making a stack of 5/8" nylon bushings with a metal tube inside of them, a bolt, nut and a few washers to hold it all together. Add grease and it seems good to go.


Next up was the A/C blower motor controller. I'm still hoping to use the modules from the LS, but I destroyed the one I had. So off the the junkyard where Shaun helped me smuggle 5 of the suckers out the door. Here's the test setup. Still don't have it quite right, but making progress. Simply probing the lines on my car just isn't enough. I also started tracing a spare control board, but replicating that didn't really work. I'm concerned that it's more complicated than it lets on. Next step is to disassemble one of them so I can trace it and figure out how it works. It's just a big FET, couple of capacitors, couple of resistors, a diode and an IC. Should be simple, right?

The bonus round was the fresh air boot. I picked one up from the forums and good thing, too. The one that came with the car had a busted actuator and some damage. The other one was filthy but cleaned up well. More sandblasting and Rustoleum. Hope to get that installed today actually.
Next weekend is cold and wet, so not certain if anything will get done.